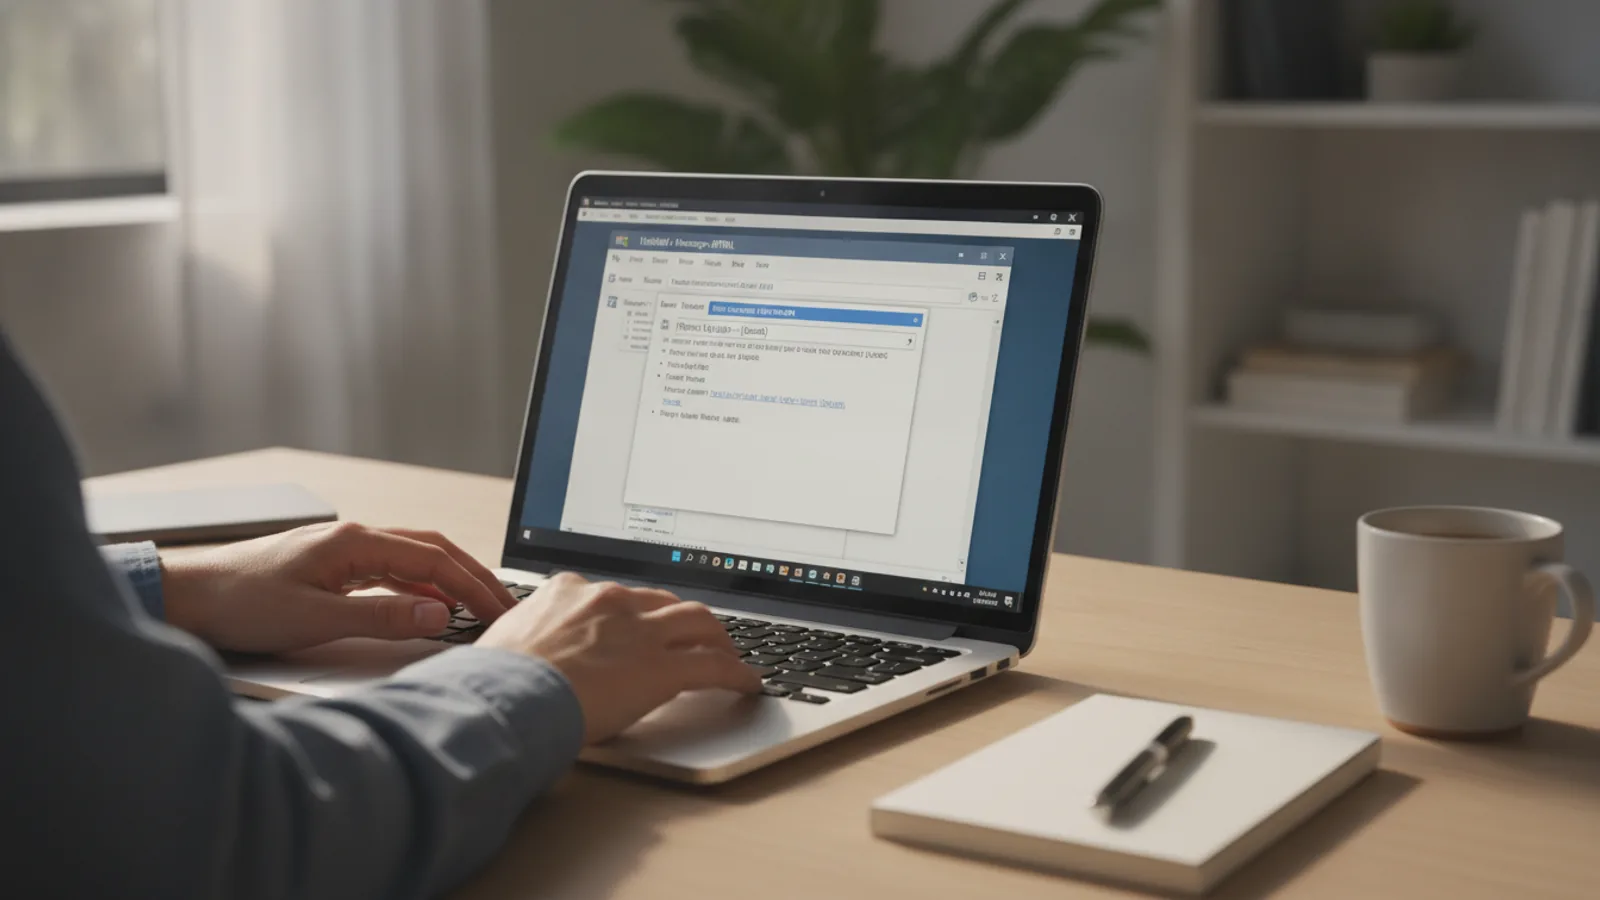
How To Schedule An Email In Outlook
A practical step-by-step guide to how to schedule an email in outlook, including preparation, instructions, common issues, tips, and next steps.
How To Schedule An Email In Outlook
Scheduling an email in Outlook allows you to write a message now and have it automatically sent at a future date and time. This is perfect for sending messages across different time zones, making sure your email arrives at the top of someone's inbox in the morning, or sending reminders for events without having to do it manually. This guide provides clear, step-by-step instructions for scheduling emails in all modern versions of Outlook, including the classic desktop app, the new Outlook, and the web version at Outlook.com.
Fast Answer
- Classic Desktop App: While composing, go to Options > Delay Delivery.
- New Outlook / Web: Click the dropdown arrow on the 'Send' button and choose 'Schedule send'.
- Where it waits: Scheduled emails sit in your Outbox (Classic) or Drafts folder (New/Web).
Before You Start
- An active Microsoft Outlook account: You need access to either the Outlook desktop application (part of a Microsoft 365 subscription) or the free web version at Outlook.com.
- Your completed email draft: It's best to have your recipient's address, subject line, and the body of your email fully written and proofread before you begin the scheduling process.
- Knowledge of your Outlook version: The steps are slightly different for the traditional desktop app versus the newer "New Outlook" and web-based versions. This guide covers them all, so just identify which one you're using.
Step-by-Step Instructions
We'll cover the two main ways to schedule an email in Outlook. First, for the classic desktop software that has been part of Microsoft Office for years, and second, for the modern web version and the "New Outlook" application, which share the same interface.
Step 1: Compose Your Email
Whether you're on the desktop or the web, the first step is always the same. Open Outlook and click the 'New Email' or 'New mail' button to open a fresh message window. Fill in the essential fields: the recipient's address in the 'To' line, a clear 'Subject', and the main content in the body of the email. Attach any necessary files and give everything a final proofread for spelling and grammar.
Step 2 (Classic Desktop App): Find 'Delay Delivery'
If you are using the traditional Outlook desktop program, look at the ribbon of options at the top of the message window you're composing in. Click on the 'Options' tab. Within this tab, look for a group of settings called 'More Options'. You should see a button labelled 'Delay Delivery', often shown with an icon of an envelope and a clock. Clicking this will open the 'Properties' settings window.
If you don't see the button directly, click the small arrow icon in the bottom-right corner of the 'More Options' or 'Tracking' group to open the same 'Properties' window.
Step 3 (Classic Desktop App): Set the Schedule
In the 'Properties' window, locate the section titled 'Delivery options'. Here, you will see a checkbox next to the words 'Do not deliver before'. Tick this box to activate the scheduling feature. Once ticked, the date and time fields next to it will become active. Use the dropdown menus to select the precise date and time you wish for the email to be sent. Ensure you have the correct date and AM/PM selected.
Step 4 (New Outlook / Web): Find 'Schedule send'
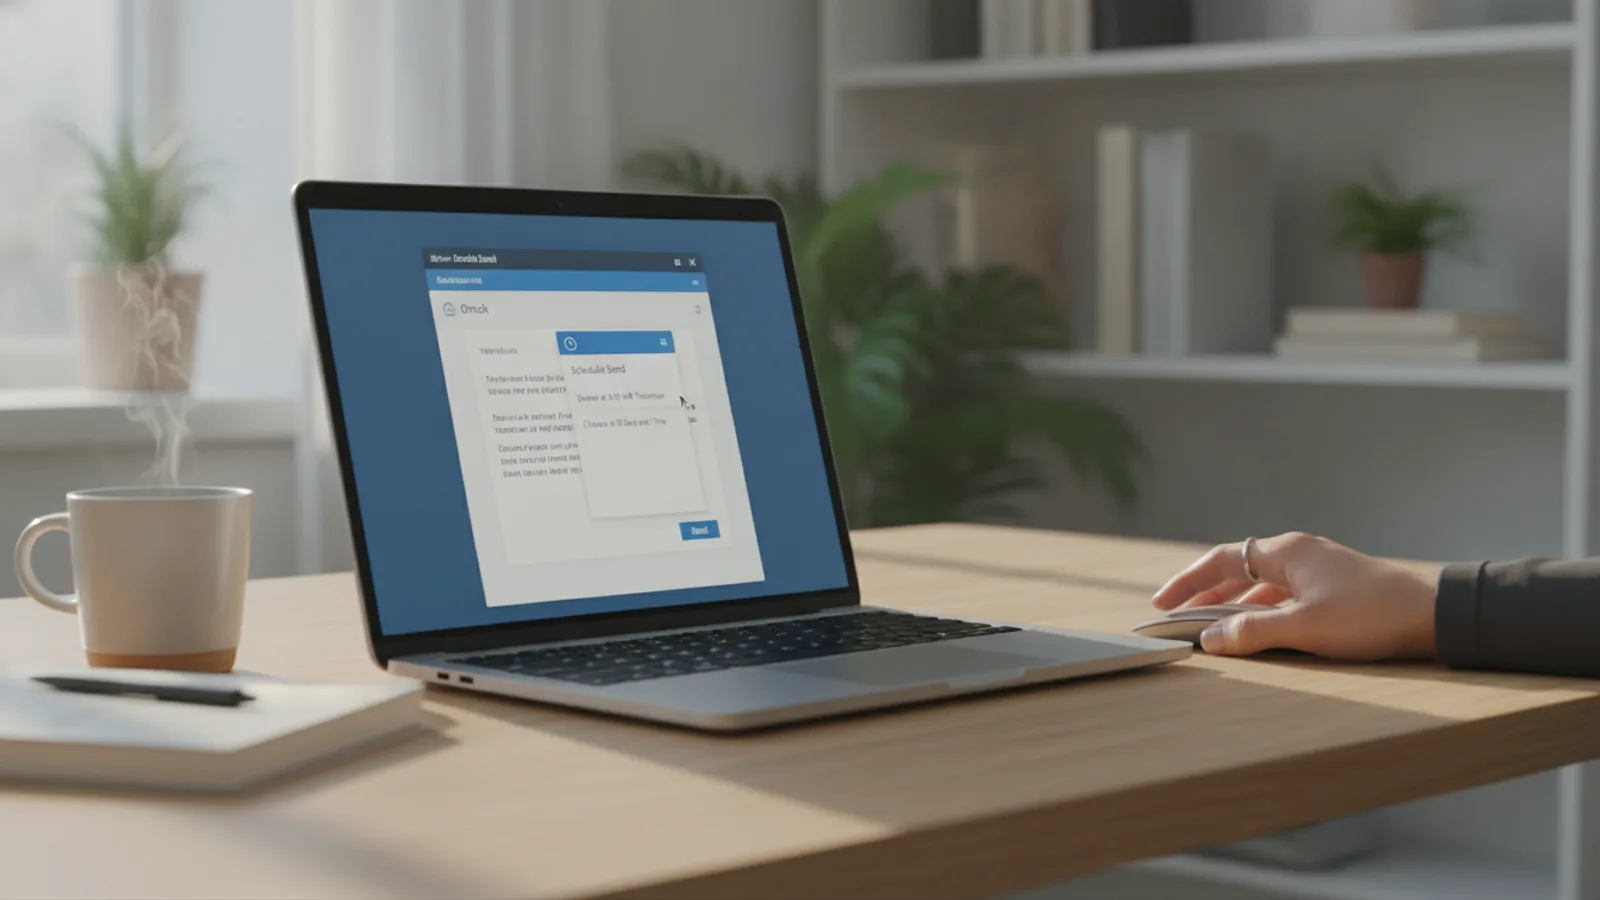
If you're using Outlook.com or the "New Outlook" desktop app, the process is more direct. After composing your message, look at the blue 'Send' button at the bottom of the window. To the right of this button is a small dropdown arrow (v). Click this arrow.
A menu will pop up with a few options. Select 'Schedule send' from this menu. This will open a new dialogue box specifically for choosing a time and date.
Step 5 (New Outlook / Web): Choose a Time and Confirm
The 'Schedule send' dialogue box will offer a couple of suggested times, such as 'Tomorrow morning'. If one of these works for you, simply click it. If not, click on 'Custom time'. This will bring up a calendar and a time selection tool. Pick your desired date from the calendar and then choose the exact time from the dropdown list. Once you are happy with the selection, click the 'Send' button at the bottom of this box to finalise the schedule.
Step 6: Verify the Email is Queued
After you schedule your message, it's wise to confirm it's waiting correctly. Where you find it depends on your Outlook version:
- Classic Desktop App: Your email will be moved to the 'Outbox' folder. You can find this in the folder list on the left-hand side of the main Outlook window. The message will sit in the Outbox until the scheduled time is reached. The subject line will often appear in italics.
- New Outlook / Web App: Your email will be saved in the 'Drafts' folder. Navigate to this folder, and you will see your message listed with a note next to it that says, "This message is scheduled to be sent on [your date and time]".
Step 7: How to Edit or Cancel a Scheduled Email
If you need to make a change or stop the email from sending, you can easily do so before the scheduled time.
- In the Classic Desktop App: Go to your 'Outbox'. Double-click the email to open it. You can now edit the content. To change the schedule, return to Options > Delay Delivery and set a new time or untick the box to remove the delay. To cancel it completely, just delete the email from the Outbox.
- In the New Outlook / Web App: Go to your 'Drafts' folder. Open the scheduled message. A banner will appear at the top of the email indicating its scheduled time. Click the 'Edit' link to change the content or the schedule. Alternatively, click 'Cancel send' to turn it back into a regular draft, which you can then delete or send manually.
Quick Reference
| Situation | Use this | Why |
|---|---|---|
| Sending to a different time zone | Schedule send / Delay Delivery | Ensures the email arrives during the recipient's business hours, not the middle of their night. |
| Need to send from desktop app when offline | Use New Outlook or Web Version | The classic desktop app requires the app to be open and online to send. The web/new versions send from the server, regardless of your device's status. |
| Editing a scheduled message | Find it in 'Outbox' (Classic) or 'Drafts' (New/Web) | The location of pending messages differs between Outlook versions, so it's key to check the right folder. |
| Sending a birthday wish or reminder | Schedule send / Delay Delivery | Perfect for messages that need to land on a specific date, allowing you to set it up in advance and forget about it. |
Common Problems When You Schedule an Email in Outlook
My scheduled email didn't send from the desktop app.
This is the most frequent issue users encounter with the classic desktop version. For the email to send, two conditions must be met at the scheduled time: the Outlook application must be open, and your computer must have an active internet connection. If your computer is off, asleep, or Outlook is closed, the email will stay in your Outbox and will only be sent the next time you launch the program.
The Fix: For critical emails that must be delivered at a specific time, it is highly recommended to use the Outlook on the web (Outlook.com) or the "New Outlook" client. These versions handle the sending from Microsoft's servers, so it doesn't matter if your own computer is on or off.
I can't find the 'Delay Delivery' option.
This usually happens for one of two reasons. First, you might be looking in the wrong place. Second, you might be using a version of Outlook that calls the feature something else.
The Fix: In the classic desktop app, ensure you have opened the email in its own, separate window (by clicking 'New Email' or double-clicking a draft). The 'Options' tab is only visible in this pop-out window, not in the main reading pane. If you're using the New Outlook or web version, remember that the feature is not in the 'Options' tab; it's under the dropdown arrow next to the 'Send' button and is called 'Schedule send'.
I scheduled an email but now I can't find it to edit it.
Your email isn't lost, it's just waiting in a specific folder. The confusion comes from the different locations used by different Outlook versions.
The Fix: Memorise this simple rule: the classic app uses the Outbox, while the new/web app uses the Drafts folder. Check the folder corresponding to the version of Outlook you used to schedule the message, and you will find it there waiting for you.
Advanced Tips for Scheduling Emails in Outlook
Use Rules to Create an "Undo Send" Buffer
In the desktop version of Outlook, you can create a rule that automatically delays every single email you send by a set number of minutes. This gives you a brief window to cancel or edit a message after you've hit 'Send'. To set this up, go to File > Manage Rules & Alerts > New Rule. Start from a blank rule, choose 'Apply rule on messages I send', and in the actions list, select 'defer delivery by a number of minutes'. A one or two-minute delay is often enough to catch a typo or a missing attachment.
Schedule Recurring Emails with Power Automate
Outlook's built-in feature is designed for one-time sends. If you need to send the same email on a repeating schedule (like a weekly report reminder), you can use a more powerful tool from Microsoft called Power Automate. It connects to your Outlook account and allows you to build an automated workflow, such as "Every Friday at 4:00 PM, send this specific email". This is an advanced technique but is incredibly useful for repetitive communication tasks.
Coordinate with Your Calendar for Perfect Timing
When scheduling an email related to a meeting, deadline, or event, it's helpful to have your Outlook Calendar open side-by-side. This allows you to visually confirm the date and avoid common errors like scheduling a work email for a weekend or a bank holiday. This simple cross-reference can prevent embarrassing timing mistakes.
How To Schedule An Email In Outlook FAQ
Does the recipient know the email was scheduled?
No. The recipient has no way of knowing the email was scheduled. It arrives in their inbox looking exactly like a normally sent email. The timestamp they see will be the time of delivery, not the time you originally wrote it.
Can I schedule an email to a distribution list?
Yes, absolutely. The scheduling feature works identically for any recipient, whether it's a single person, several people listed in the 'To' field, or a pre-made contact group or distribution list.
What happens if I edit an email that is already scheduled?
You can freely edit a scheduled email right up until the moment it is sent. Simply locate it in the correct folder (Outbox or Drafts), open it, make your changes to the text or attachments, and save it. The original schedule will remain active unless you specifically go in and change the delivery time.
Does scheduling an email work on the Outlook mobile app?
Currently, the official Outlook mobile apps for iOS and Android do not have a native 'schedule send' feature. A common workaround is to compose the email on your phone and save it as a draft. Later, when you are at a computer, you can open the draft in the desktop or web version of Outlook and apply the schedule from there.
Final Checklist for Scheduling an Email in Outlook
- Email content is final: Have you proofread the text and confirmed all attachments are included and correct?
- Correct recipients: Double-check the 'To', 'Cc', and 'Bcc' fields to ensure the right people are included and their addresses are correct.
- Date and time are accurate: Verify the day, month, year, and AM/PM for your scheduled delivery time.
- Time zone awareness: If sending internationally, have you considered the recipient's local time and scheduled accordingly?
- Correct folder checked: Is the email visible in your 'Outbox' (Classic Outlook) or 'Drafts' (New/Web Outlook) to confirm it's successfully queued?
- Classic Outlook consideration: If using the classic desktop app for a time-sensitive email, is your computer going to be on and running Outlook at the delivery time? If not, use the web version instead.